Here’s how to prepare your lumber and get amazing results, every time
No matter the project, the quality of the materials you use is essential to getting the result you want. Natural wood will always be a popular choice for a variety of projects, but unfortunately a lot of the time the natural lumber can be vulnerable to the elements and insects.
A great solution for more durable natural lumber is to opt for those that have been treated with special chemicals and preservatives designed to protect the wood against rotting and insects. Pressure-treated pine, for instance, is an excellent choice in this sense and can offer you the amazing results of pine that stand the test of time.
But, can you paint pressure-treated pine? Well, the short answer is yes, though you will need a bit of preparation to ensure the paint job lasts.
How Do You Paint Pressure-Treated Pine?
Pressure-treated pine needs to be fully dry before you begin to paint it. That sounds easy enough, but you should know it can take even months for pressure-treated pine to fully dry. Often, the lumber you can buy at hardwood stores is still too wet to be painted.
Not only that, but the type of paint you use is equally important. For pressure-treated pine, it’s best to use a combination of a latex-based primer and a water-based paint that’s designed for outside purposes. Oil-based paint might give you the look you want, but in general, the effects will not last.
The Main Steps to Paint Pressure-Treated Pine
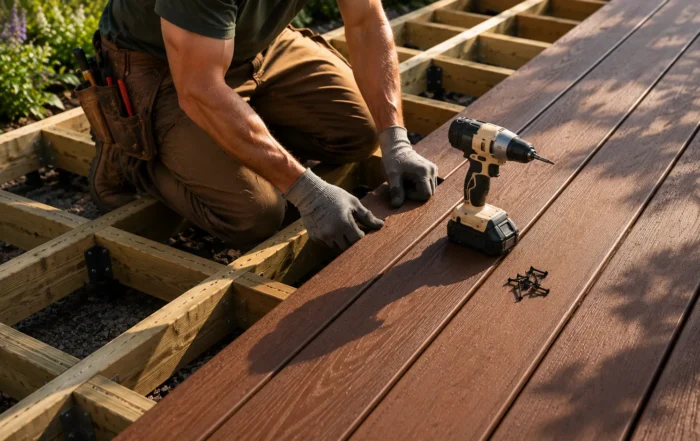
Before you start yielding the paintbrush, make sure to follow these steps to ensure your DIY project turns out the way you want it to:
- Remove debris – Before painting, clean the surface area with soap and water to make sure you don’t have any residues that could lead to a lumpy paint application
- Let it dry – This process will, unfortunately, test your patience, as it can take weeks or even months, but it’s essential to make sure the wood is perfectly dry before applying the primer and paint
- Apply the primer – This will make sure you have the perfect canvas for the paint. Primers can have different curing times, depending on the brand you use, so just be sure to follow the manufacturer’s instructions
- Add the paint – Apply at least two coats of paint to get the finished result you want. You may need to wait a few hours between recoating, but again, it generally depends on the manufacturer.
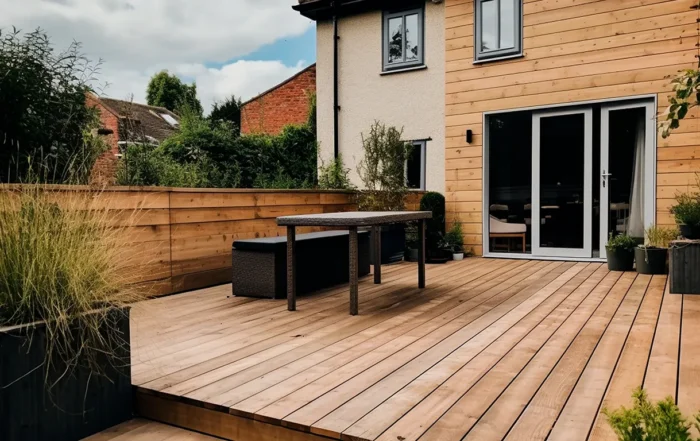
And therefore, the process is done! Just wait for the paint to dry and your pressure-treated pine project is ready for the world to see.
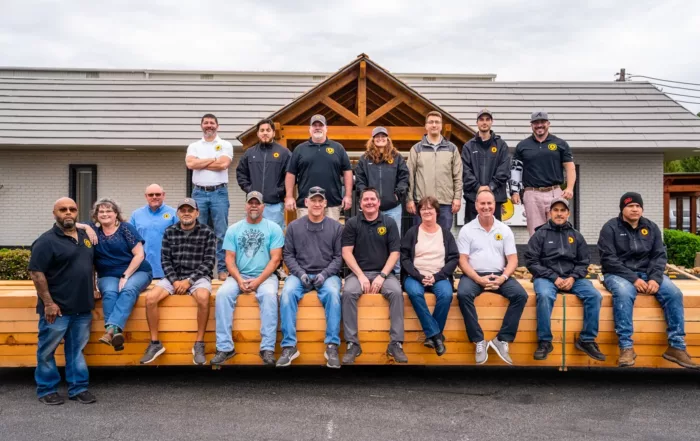
Need Pressure-Treated Pine? Norcross Supply Company Can Help!
Norcross Supply Company is your one-stop shop for quality lumber in the greater Atlanta area. Even if you’re not sure what you are looking for, our 3-step process makes it easy for everyone to access the right materials:
- Get in touch for expert support
- Pickup or have the order delivered
- Complete your project
And done! To get started, use our contact form and tell us more about your project.
About the Author: EVANCED-EDITOR
Share This Story, Choose Your Platform!
How can we help?
[ninja_form id=1]